Description
Creative Sizing And Designs
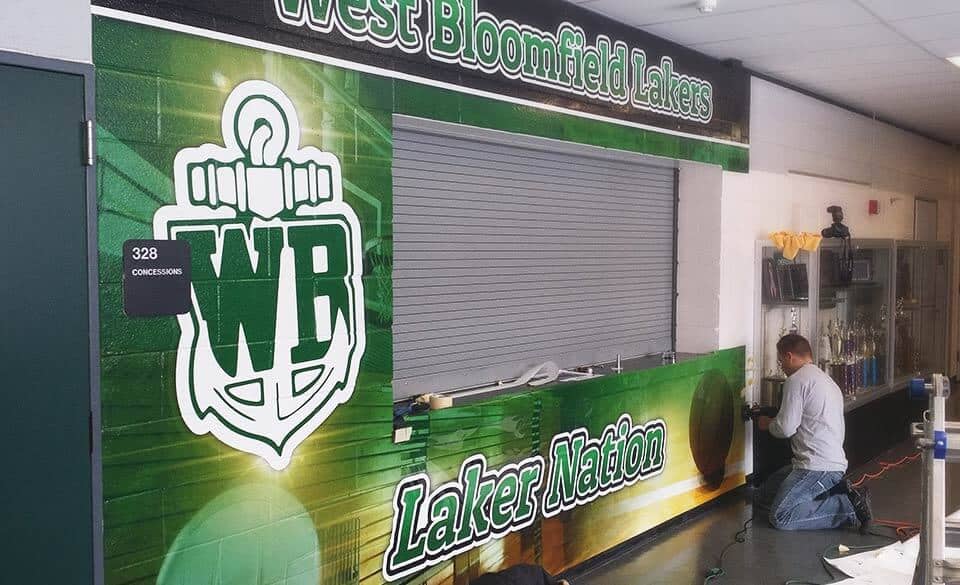
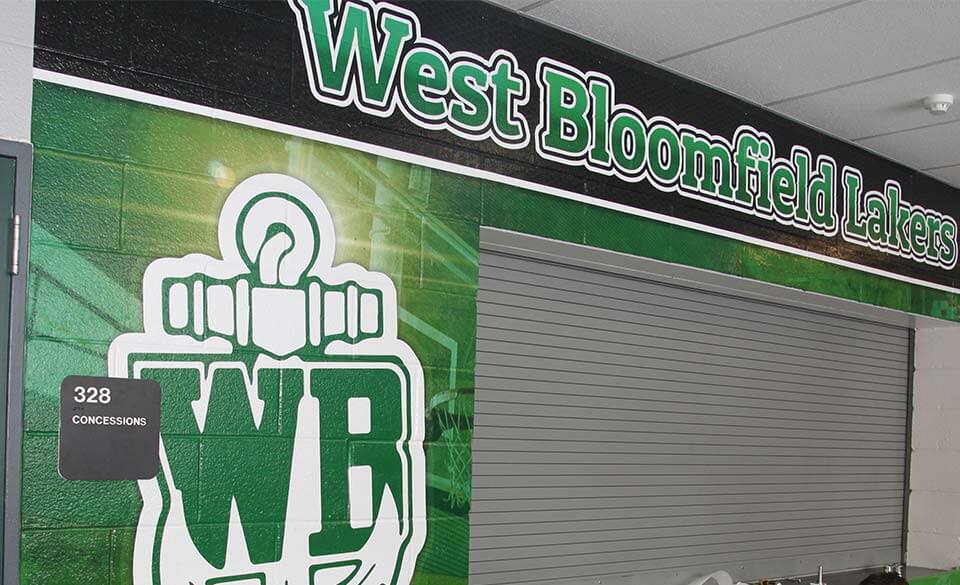
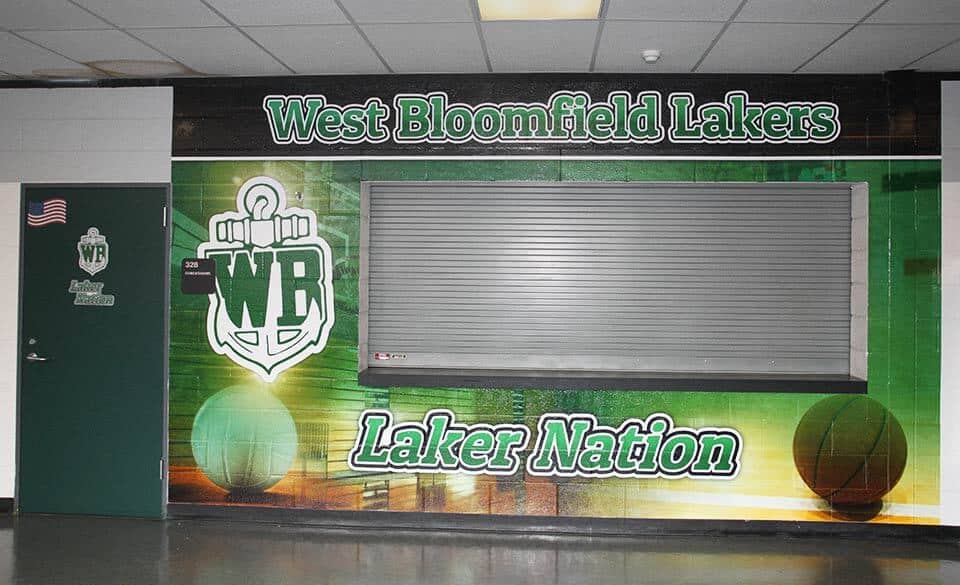
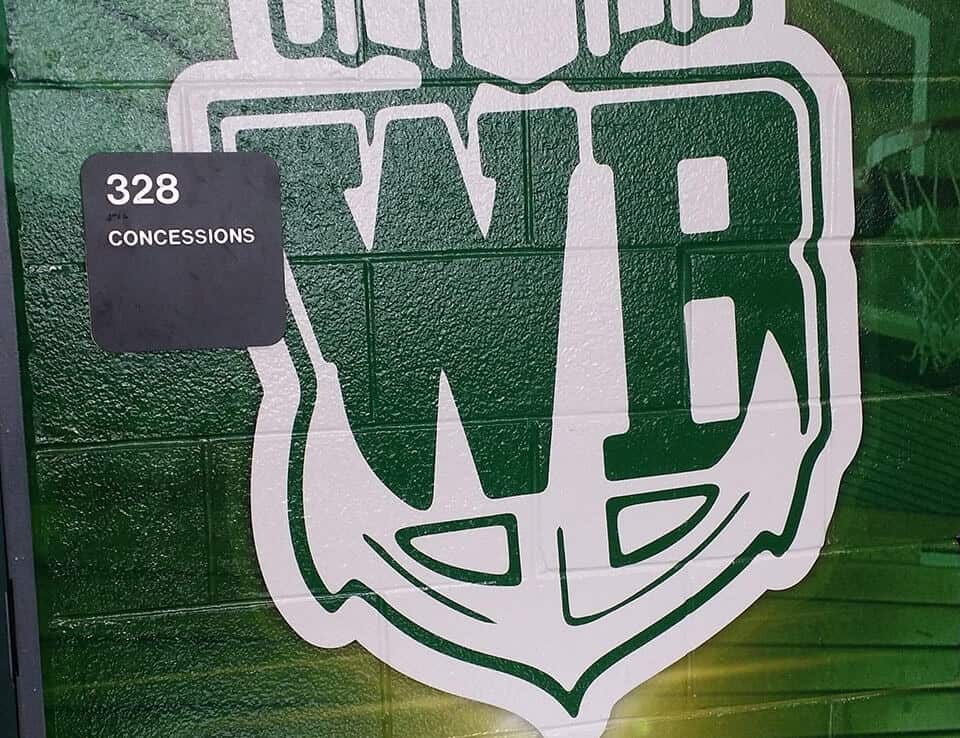
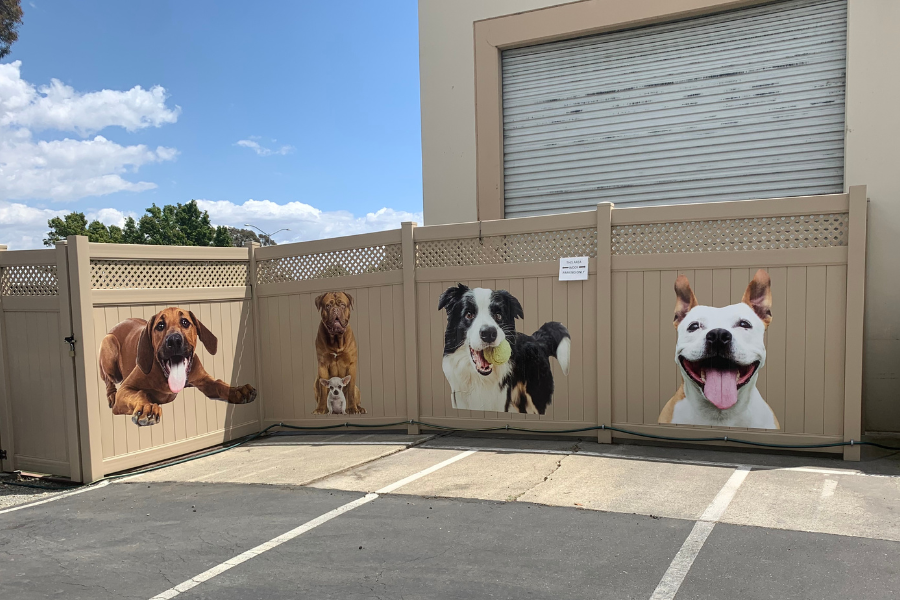
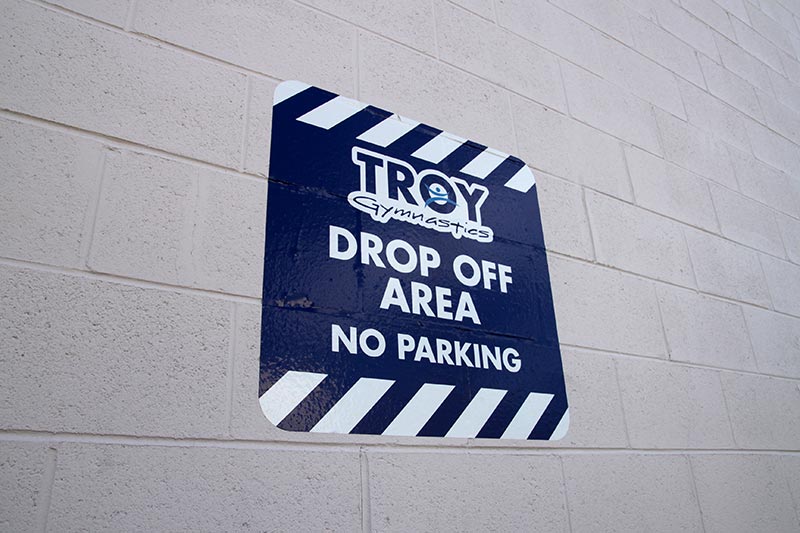
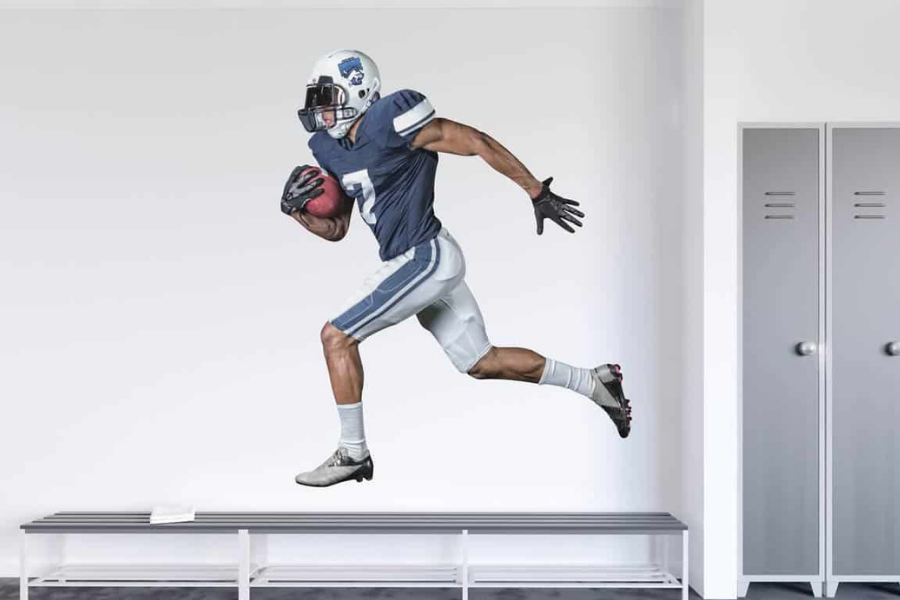
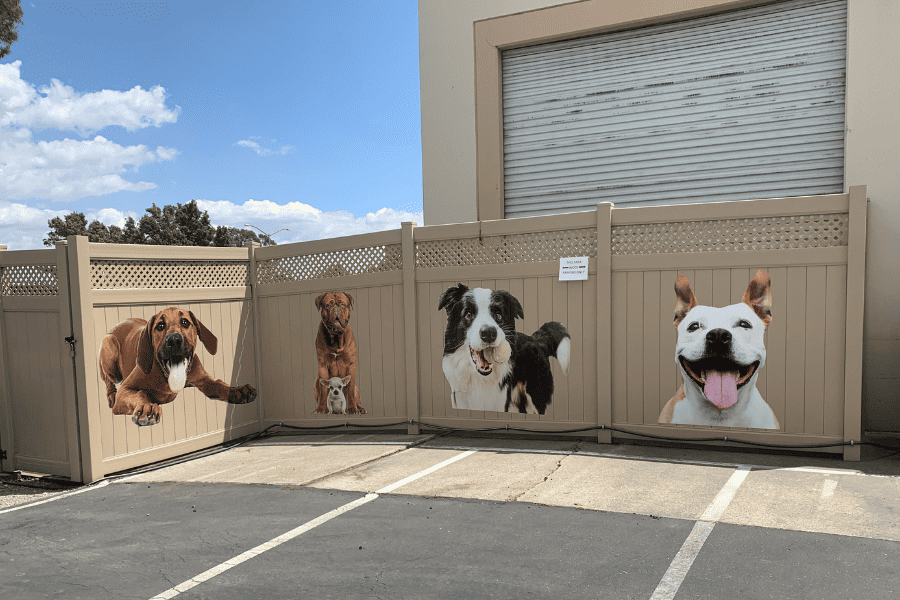
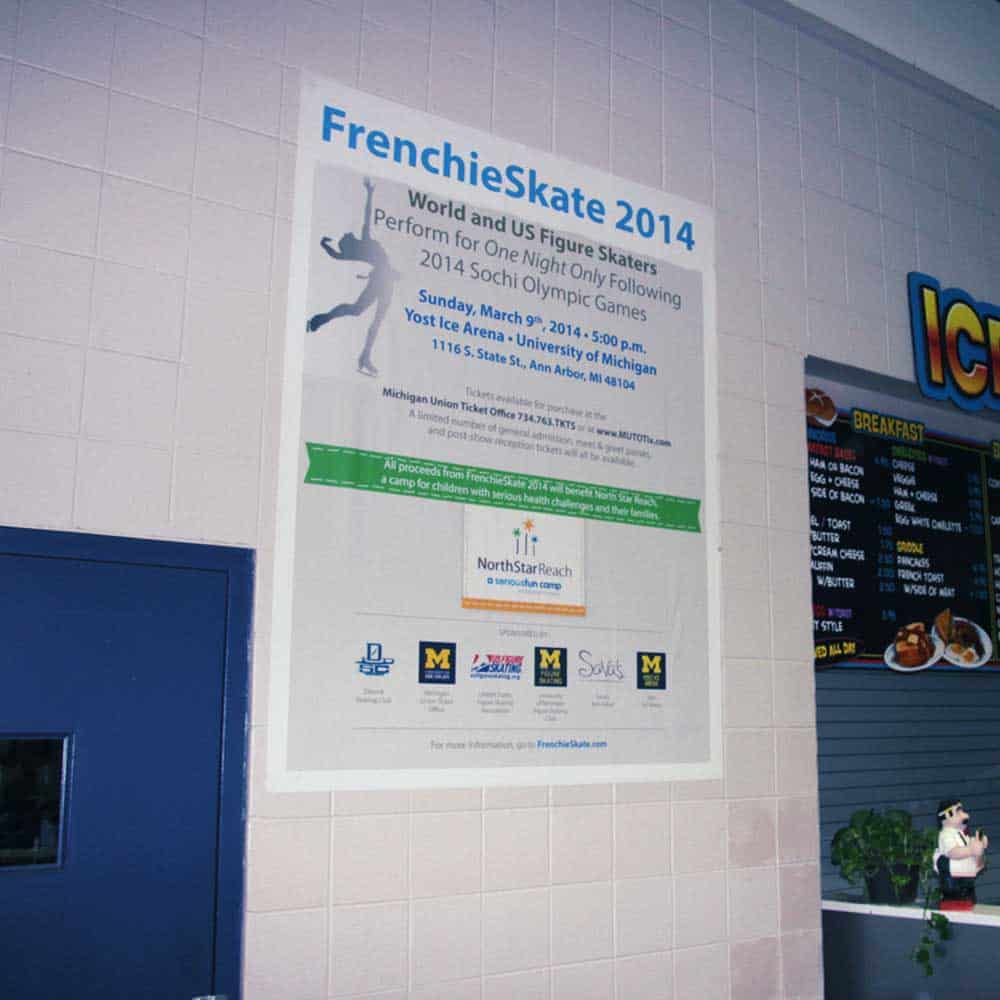
Create a painted-on look for your wall with our removable conforming custom vinyl wall decals. Designed to conform to every crack and detail of the surface, these decals are perfect for concrete, sidewalks, cinder block, and brick. Our high-quality graphics make your message or design appear seamless and immersive, helping you capture attention in any outdoor setting. Whether you’re covering a small section or transforming an entire facade, we offer flexible sizing options to fit your vision.
Colors Built to Last
We use premium cast vinyl that resists shrinking and stands up to outdoor weathering, ensuring your removable wall decals maintain their vibrancy over time. Our materials are durable enough to handle a variety of conditions while still allowing for clean removal when it’s time for a change. If you’re unsure where to start, our Stickologists can walk you through the best solutions for your surface and design goals.
How To Install Conforming Vinyl On Textured Surfaces
Our removable conforming decals work best on brick, cinder block, concrete, and mild stucco texture. When installed correctly, they achieve a realistic painted-on appearance. For best results, use:
- Heat gun (capable of 700-1000°F)
- Foam rollers
- Scissors or X-ACTO knife
- Tape measure
- Painter’s tape (or stronger for very textured surfaces)
Surface Preparation
Before installation, ensure the surface is clean and free of broken brick, loose mortar, or debris that could prevent proper adhesion. The vinyl must be heated and rolled into the texture to fully conform. Removal is also easiest when the vinyl is applied with heat.
How To Install (Simple Method for Smaller Prints)
For this method, simply remove the liner from the entire print and position it on the surface. Begin heating and conforming, following the directions below (skip to step 7).
How To Install (Hinge Method for Larger Prints)
The steps below describe the process for a print with portrait orientation (taller than it is wide), working from top to bottom. If your print has landscape orientation (wider than it is tall), follow the same instructions, but create a vertical hinge and work from left to right instead of top to bottom.
Using the Hinge Method For Conforming Vinyl
For textured surfaces, a heat gun (not a hair dryer) must be used to soften and conform the vinyl during installation. Once heated, use a heat-resistant foam roller to press the vinyl into the texture, ensuring full adhesion to the surfaces.
Step 1: Position
Make any necessary measurements to ensure the graphic is positioned correctly before installation. For example, choose a wall edge or corner—top, bottom, left, or right—to serve as your level reference line. Then, measure and apply tape to the surface where the print liner will align, ensuring accurate placement.
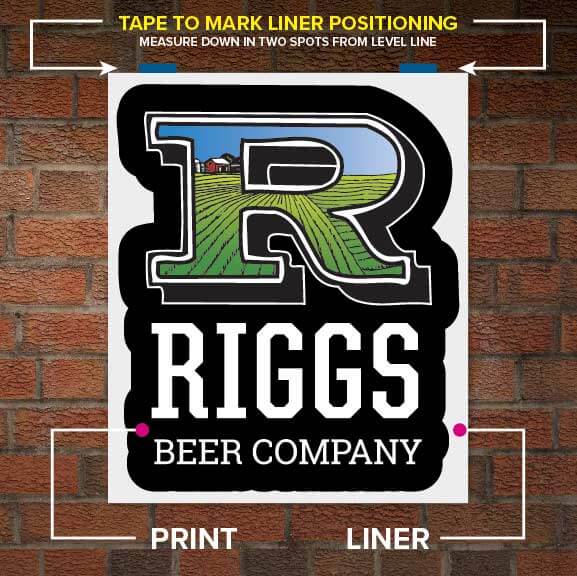
Step 2: Apply Hinge
Once the graphic is positioned, use tape to temporarily secure it to the surface. Apply a “hinge” approximately in the center of the print to keep it stable during installation. Avoid taping the print directly if you are using very strong tape, as this may damage the surface. For best results, use a combination of painter’s tape and a stronger tape, such as Gorilla tape, to hold the print securely in place.

Step 3: Removing Top Liner
For prints taller than they are wide (portrait orientation), start from the top. Carefully pull the print away from the liner about 1/4 to 1/2 of the way down, then cut and remove the exposed liner section. For prints wider than they are tall (landscape orientation), start from the left or right side instead, placing a vertical hinge in the center before peeling and removing 1/4 to 1/2 of the liner.

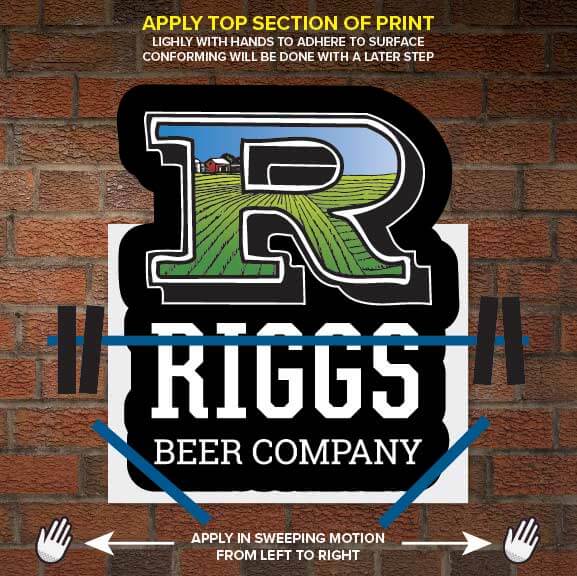
Step 4: Apply Top Section
Starting at the hinge, begin lightly pressing the print onto the surface by hand. Use a smooth, left-to-right motion to apply it evenly, ensuring the material makes light contact with the surface without creating wrinkles or air bubbles.
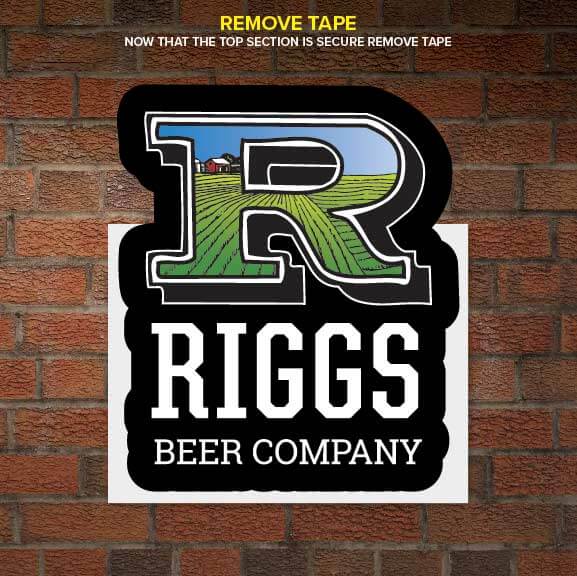
Step 5: Remove Positioning Tape
Remove any tape from the initial positioning, including the hinge.
Step 6: Remove the Liner and Apply the Rest Of the Print
You can remove the liner by rolling it up from the bottom in a reverse roll until you reach the area already adhered, or by reaching behind the print and curling the liner away completely. As you remove the liner, continue applying the print in a smooth, swiping motion, or remove the liner entirely and secure the bottom left and bottom right edges to the surface before applying from the hinge down.

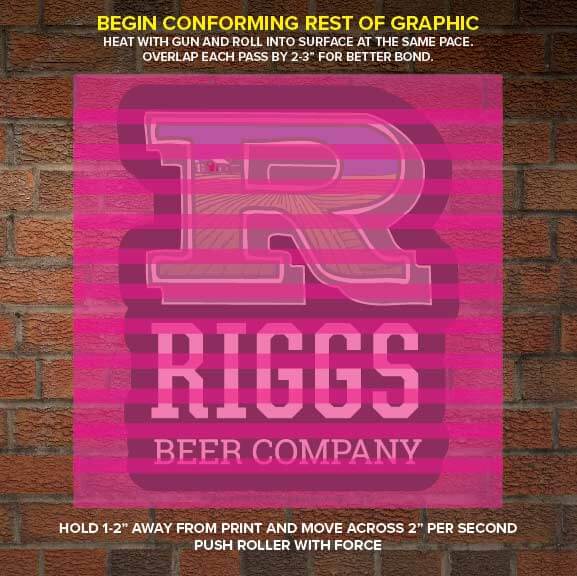
Step 7: Apply the Rest of the Print
Swipe the heat gun and roller from left to right (or in the same direction as the grout lines) to conform the print to the surface. Hold the heat gun 1-2 inches away from the vinyl and move it steadily at about 2 inches per second, applying firm pressure with the roller to ensure the material fully adheres to the texture.
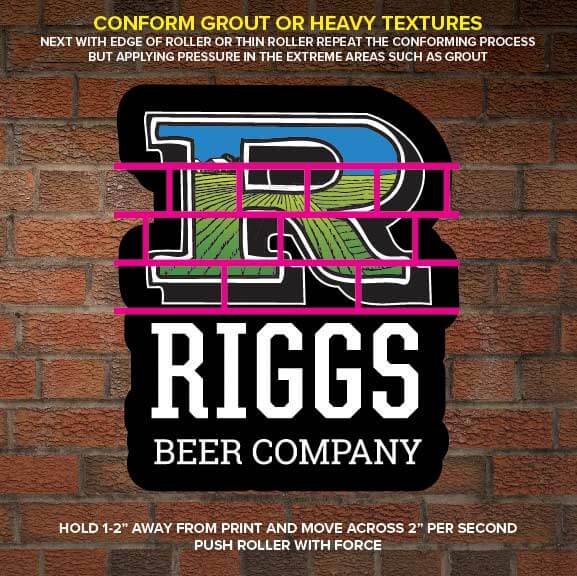
Step 8: Conform Deep Areas
With a thin roller or the edge of a roller, perform the same conforming technique to push the print into deep areas, such as grout or heavy surface texture.
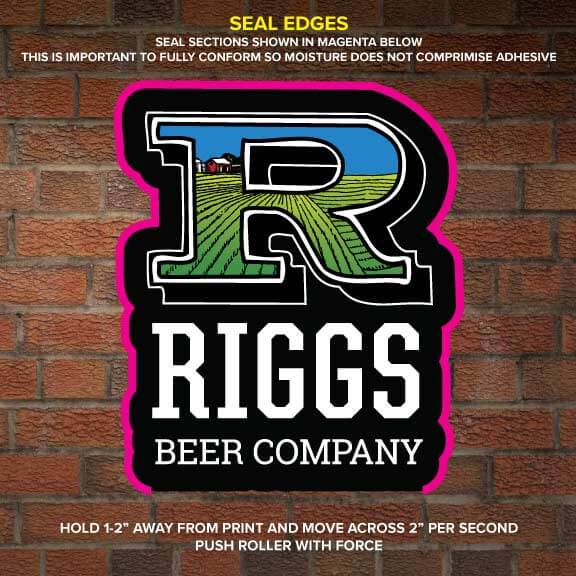
Step 9: Seal Edges with a Heat Gun and Roller
Using a heat gun, fully conform all sides of the print, leaving one side open to allow air to escape. Hold the heat gun 1-2 inches from the vinyl and move it steadily at about 2 inches per second, applying firm pressure with the roller to ensure the material adheres securely to the textured surface.
FAQ
You will need a heat gun and heat-resistant foam rollers.
Heat Gun
Must be able to reach temperatures of 750°F – 1000°F for optimal adhesion/conform.
The most commonly used rolling tools are the 3M™ TSA Series
- 3M™TSA 1
4″ Wide Heat-Resistant Roller - 3M™ TSA 2
1″ Wide Heat-Resistant Roller with a bevel for deep curved surfaces such as grout - 3M™ TSA 3
1″ Wide Heat-Resistant Cylinder Roller - 3M™ TSA-4 Two-Handed Surface Tool
Combination of the heat gun and a 4″ Heat Resistant Roller - RollePro Finishing Roller
These can be found via wrap supply or sign accessory companies.
With this unique adhesive, removal is simple, even after long-term use. A heat gun can assist with removal if needed. Keep in mind that heat or extreme climate exposure over the life of the installation may affect clean removal.
To remove, start at one corner and fold the material back onto itself at a 180° angle. Pull slowly at an angle until the graphic is completely removed.

Stacey Hartwig –
The graphic looks great! It is just what we envisioned.
Allison Radkay –
Excellent product! Our new “selfie wall” looks fantastic and the graphic was easy to apply. Two of us did it in less than an hour, and after reading the instructions and watching the video, it’s pretty much foolproof. The graphic we ordered is very good quality and a great price for the large size we bought.
Phil McG –
Follow the instructions and the project was a breeze. It came out perfect.
Photographers (verified owner) –
Great Product, looks great!